Find / List - RV Service
RV Service, Mobile service, Cleaning & More!

When maintaining your recreational vehicle (RV), trailer, or motorhome, you need to consider many things to ensure it’s in perfect condition. This is something you shouldn’t take lightly, since your RV can serve as a temporary home, in addition to being a mode of transport.
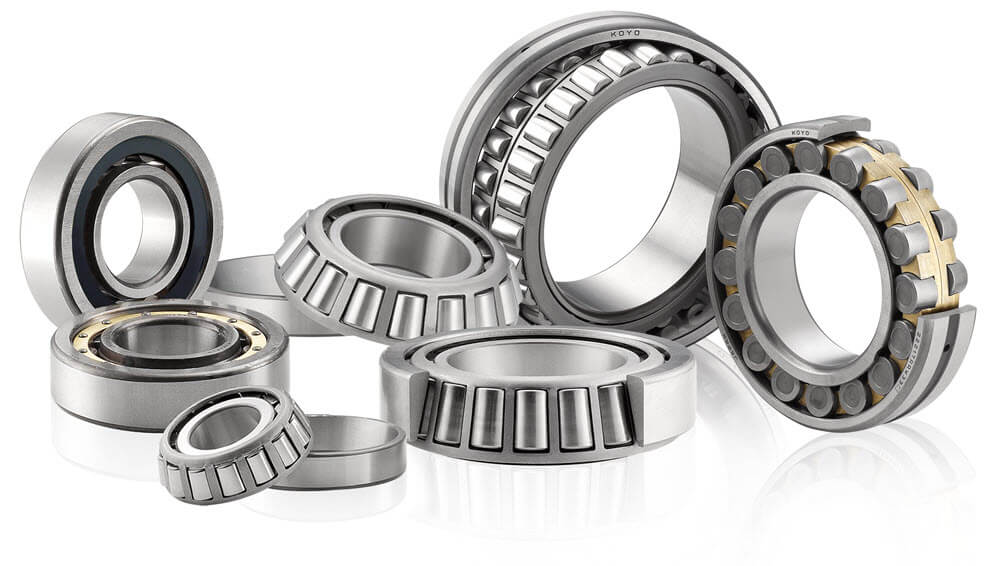
One part that requires constant maintenance is its wheel bearings. They support the RV’s weight and ensure that the wheels to your trailer spin smoothly without any issue. It’s crucial that you routinely maintain the wheel bearings to prevent deterioration and grease leakage. Otherwise, foreign items such as dirt and dust can find their way into the bearings, which may lead to complications.

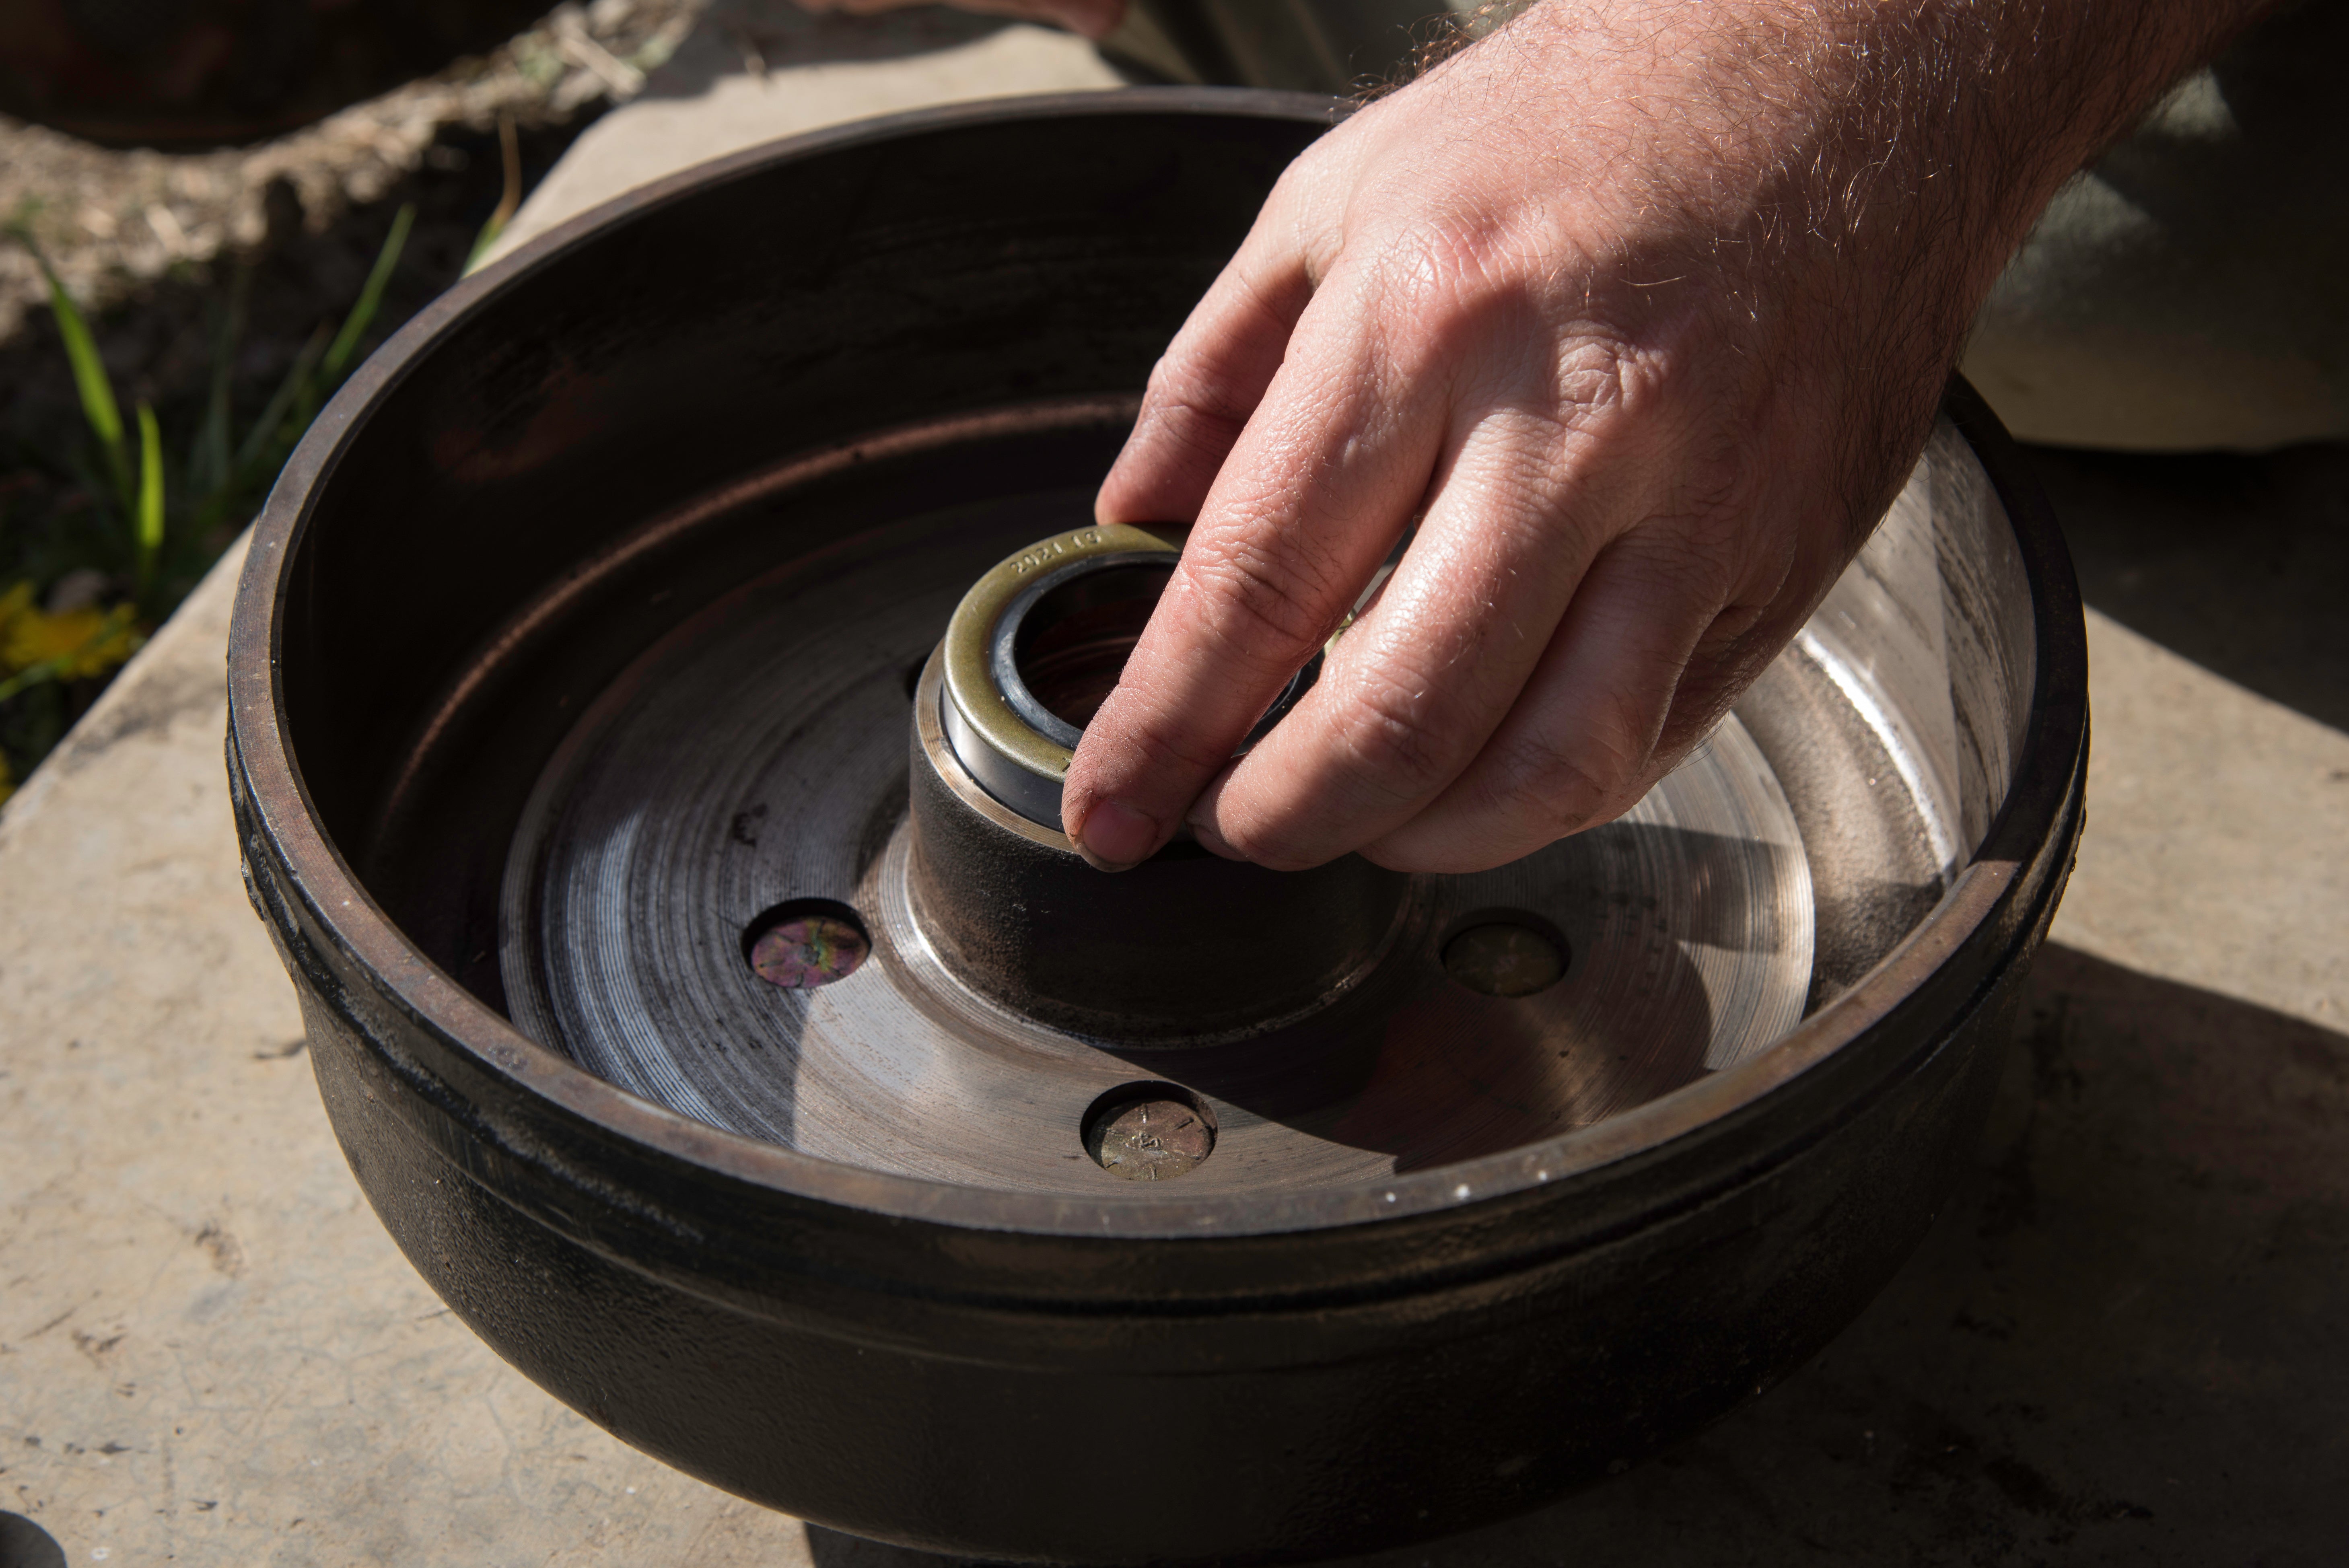
Image Source -Testing Autos
You can easily find replacement parts at RV Parts Shop, but if your wheel bearings are still in good condition, it’s crucial to be aware of how to take care of them and lengthen their life span.
That being said, here’s a brief guide on RV wheel-bearing maintenance.
Usually, wheel bearings should undergo a maintenance check after every 10,000 to 12,000 miles or once annually, whichever comes first. However, the frequency will depend on a couple of factors, including:
Wheel size
Average load weight
Type of trailer
If you don’t use your RV that often, you can also consider taking it in for maintenance every 2,000 miles or once a year. Leaving it unused for a prolonged period isn’t ideal; when you do decide to use it after a long time of leaving it unchecked, you might find that some components may have already deteriorated or succumbed to previously unnoticed issues. Thus, it’s important to bring it in for a maintenance check at least once a year.
There’s no need to remove the tires and do a manual inspection. Even without doing this, there will be signs that can indicate whether the wheel bearings should indeed be repacked. These include the following:
When you feel your trailer and tow vehicle constantly veering toward a particular direction, this may be a sign that you need to replace your RV’s wheel bearings. To confirm this, you should observe whether this happens even when you aren’t towing. If it doesn’t, take it as a sign that you need to repack the wheel bearings right away; otherwise, the issue will get worse.
If left unattended, this can compromise your safety when driving your RV, as navigating it will become difficult and unpredictable.
Another way you can know if the wheel bearings need replacement is by inspecting the movement of the tires. See whether they’re moving up and down greater than normal. If they are, this is a clear sign that there’s a problem. Usually, this happens due to uneven wearing out of your RV’s tires.
It’s important to repack your wheel bearings when you notice this, as the uneven wearing of your tires increases the chances of them blowing out when you drive at high speeds.
If your RV’s wheels produce a high-pitched or screeching sound when moving, this is a clear sign of a serious issue. However, this is something you may not notice immediately, as it can be difficult to detect while inside the RV. This is why you must always keep an ear out while driving.
You can also inform family members or other people who frequently use the RV to notify you if they hear strange sounds coming from the tires. Should you or others notice unusual sounds besides the usual axle flexing noises, this is a possible indication that you need to replace the wheel bearings.

If you feel confident enough to replace the wheel bearings without the need to hire a professional, you may do so, but be sure to familiarize yourself with all the necessary steps involved.
Before you start, make sure you have all the essential tools for the task. These include:
High-temperature wheel bearing grease
Paper towels
Chisel and hammer
Trailer jack
Photos of your disassembled wheel bearings (to guide you when reassembling them)
A grease gun or wheel bearing packer
New seals, as well as cotton pins for the RV’s wheels if necessary
Once you have all the required tools, follow these steps to repack your RV’s wheel bearings:
Read the service manual if this is your first time repacking wheel bearings.
Lock the RV’s tire and lift it up.
Take away the dust cap using a chisel and hammer. While doing this, it’s recommended that you take photos so you have a guide to go by when reassembling.
Remove the wheel by gently spinning it to loosen the exterior bearing. Then place it on a paper towel, with the inner side facing downward.
Remove the washer (retaining the nut) and outer bearings with a hammer and chisel.
Gently slide off the hub assembly and thump out the inner bearing from the hub.
Clean out the old grease and clean the backing plate, drum, brake shoes, and other components.
Gently grease the bearing races and place the grease inside the bearings.
Switch the inner bearing inside the hub and insert a new grease seal.
Apply a thin coat of grease over the seal and slip the assembly back over the axle. Be cautious while doing this to ensure you don’t destroy the seal.
Slip the outer bearing over the axle. Afterward, do the same for the retaining nut, as well as the washer. Fasten the nut while you’re rotating the drum.
Install a new cutter pin and change the dust cap.
Repeat this process for all the wheels of your RV.
If you decide to do this yourself, make sure you’re knowledgeable about the entire process; otherwise, you risk causing damage to some crucial components. If this happens, you will not only have to spend more money to repair these, but you also further compromise your safety, as well as that of other road users.

The safety of your RV depends on the condition and maintenance of its components, and its wheel bearings are an important aspect that shouldn’t be overlooked. Make sure to perform routine maintenance and repack the wheel bearings as soon as you notice something is amiss. Keep the information above in mind so your RV can continue to function without a hitch and so you can ensure your safety, as well as others, while on the road.